April 14, 2026/
The key is simple: coins must feel earnable, meaningful, and easy to understand. If they look like a gimmick or have...

The key is simple: coins must feel earnable, meaningful, and easy to understand. If they look like a gimmick or have...

They also work well in person, where a tangible token can cut through noise and create a small moment of ceremony....

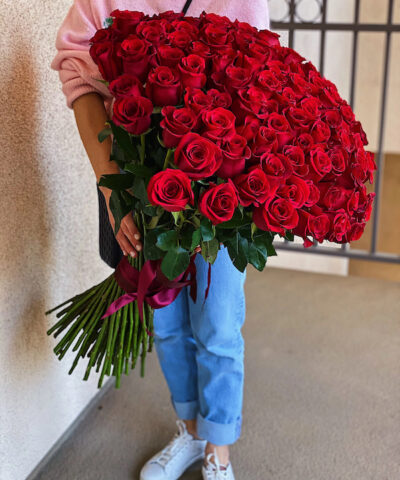
The Rise of Modern Australiana: Why Native Flowers Define 2026 Weddings Australian native wedding flowers have transcended their “rustic-only” reputation to...

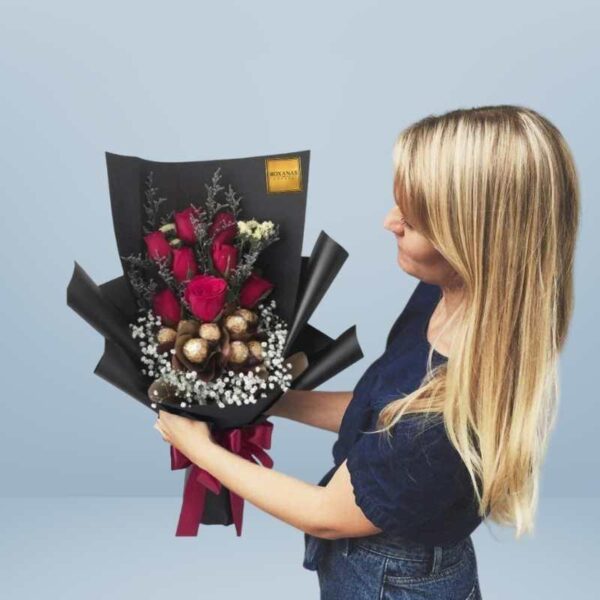
I ordered an Anniversary Flower arrangement for my parents' milestone celebration, and it was an absolute showstopper. The arrangement spoke volumes of love and brought tears of joy to my parents' eyes. Dinner Garden Flowers, you truly understand the language of flowers.

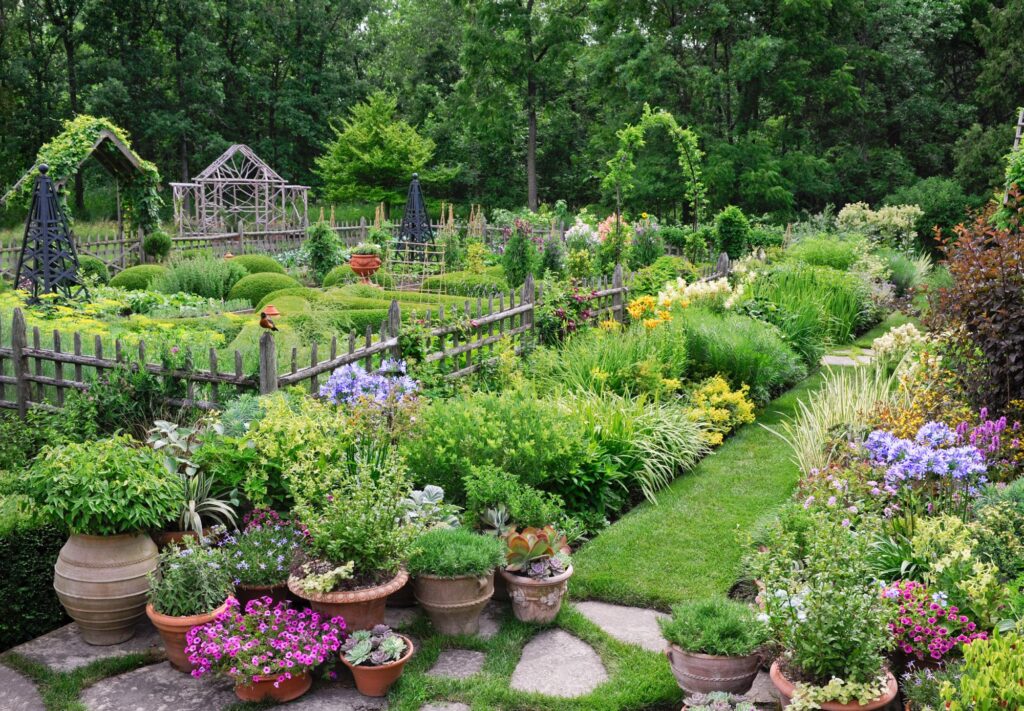
As a newbie gardener, I was overwhelmed, but Dinner Garden Flowers provided me with the guidance and resources I needed. My garden is now flourishing, and I'm filled with a sense of accomplishment. Their support has been invaluable.

The Anniversary Flowers from Dinner Garden Flowers added a touch of elegance to our special day. The bouquet was not only stunning but also perfectly captured our love. Thank you for making our anniversary even more memorable.

Dinner Garden Flowers transformed my backyard into a paradise. Their expert advice and premium selection of plants made gardening a breeze. Now I have a haven of beauty right outside my door!